KUSANAGI comes with a built-in Web Application Firewall (WAF) feature.
In this article, we’ll walk you through how to use this feature, as well as how to investigate potential causes when errors occur.
Benefits of Introducing a WAF
WAF stands for Web Application Firewall, and it serves as a protective layer for web applications such as WordPress.
It helps prevent malicious access attempts that exploit known vulnerabilities—like SQL injection or directory traversal—before they reach the application layer (e.g., PHP).
By blocking suspicious requests at the web server level, WAF reduces the risk of damage from unpatched vulnerabilities.
We’ve briefly touched on this topic before in our article “Preparing for attacks with WAF”, but this time we’ll take a deeper dive into its setup and troubleshooting.
How to Enable WAF in KUSANAGI
KUSANAGI includes a built-in WAF feature out of the box.
It uses NAXSI for nginx and ModSecurity for Apache.
Note, however, that WAF is not enabled by default, so you’ll need to activate it manually.
You can enable it with a single command:
kusanagi waf onDuring the first execution, KUSANAGI will automatically install any necessary packages.
If the setup is successful, you should see the following messages at the end:
restart completed.
waf completed.
How to Analyze Errors with NAXSI on nginx
Once you’ve enabled WAF, you may occasionally encounter errors such as 403 Forbidden when accessing your site. In this section, we’ll explain how to analyze and resolve such issues.
Note: KUSANAGI includes NAXSI rules optimized for WordPress by default, so the example error below won’t normally occur. For demonstration purposes, these default rules have been disabled.
Step 1: Check the nginx Error Log
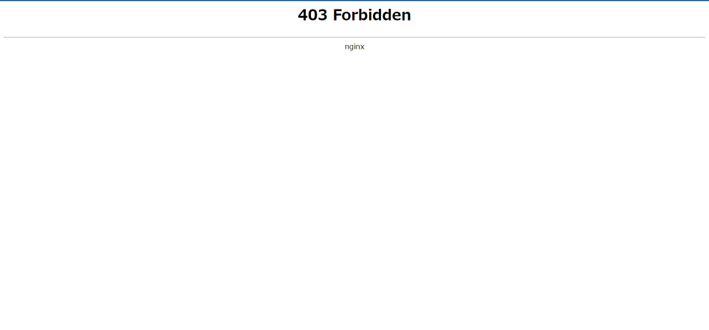
If you see a 403 Forbidden page, the first step is to check the nginx error log for the corresponding profile.
- For regular access errors:
/home/kusanagi/(profile_name)/log/nginx/error.log - For HTTPS-related errors:
/home/kusanagi/(profile_name)/log/nginx/ssl_error.log
Here’s an example of an actual log entry:
2023/07/21 08:36:23 [error] 7432#7432: *1 NAXSI_FMT: ip=192.0.2.1&server=example.com.internal&uri=/wp-login.php&vers=1.3&total_processed=1&total_blocked=1&config=block&cscore0=$XSS&score0=16&zone0=HEADERS&id0=1315&var_name0=cookie, client: 50.5.35.41, server: example.com.internal, request: "GET /wp-login.php?action=logout&_wpnonce=facec0ed55 HTTP/1.1", host: "example.com.internal", referrer: "http://example.com.internal/" Look for id0 in the log — in this case, it shows 1315. This indicates the rule ID that triggered the block. If multiple rules were triggered, you’d see id1, id2, and so on.
Step 2: Look Up the Rule ID
To understand what rule 1315 refers to, open the base rules file:
/etc/opt/kusanagi/nginx/naxsi.d/naxsi_core.rules.conf
Search for rule ID 1315. You might find something like this:
MainRule "rx:%[23]." "msg:double encoding" "mz:ARGS|URL|BODY|$HEADERS_VAR:Cookie" "s:$XSS:8" id:1315;This rule flags content with double encoding as a potential XSS threat and increases the risk score accordingly.
Step 3: Whitelist the Rule for the Specific Context
Next, let’s craft an exception rule (whitelist) to prevent this from being triggered in safe cases.
From the log entry:
- zone0=HEADERS tells us the issue occurred in the HTTP headers.
- var_name0=cookie indicates the suspicious data was in the Cookie header.
To bypass this rule only in that context, add the following line:
BasicRule wl:1315 "mz:$HEADERS_VAR:cookie";- wl means whitelist
- 1315 is the rule ID to ignore
- mz:$HEADERS_VAR:cookie limits the exception to the Cookie field in headers
Step 4: Apply the Rule and Restart nginx
Place the whitelist rule into the following file:
/etc/opt/kusanagi/nginx/naxsi.d/wordpress/user.conf
Then restart nginx:
kusanagi nginx
After restarting, confirm that the issue is resolved.
Repeat this process whenever false positives occur.
By refining your rules over time, you can improve both security precision and site usability.
How to Analyze Errors with ModSecurity on Apache
While KUSANAGI uses nginx as its default web server, many production environments run on Apache.
In this section, we’ll cover how to investigate and respond to errors when using ModSecurity with Apache.
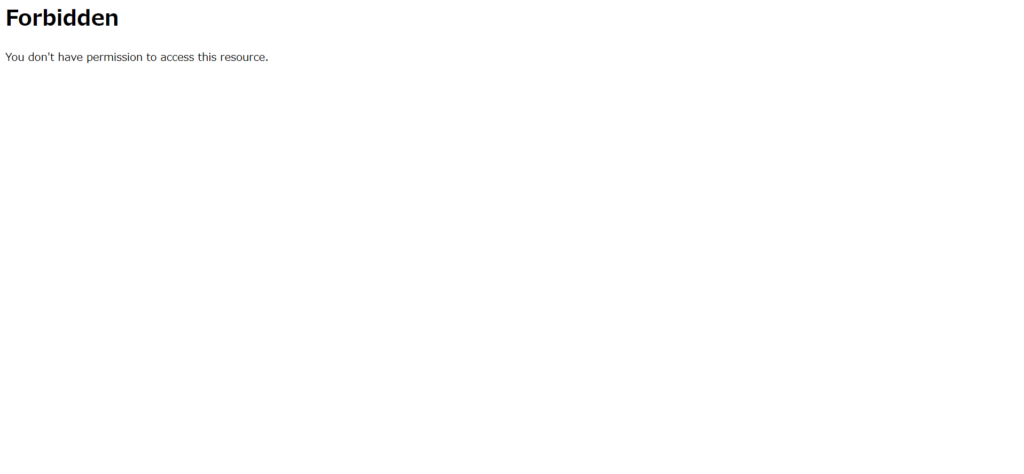
For this demonstration, we used a specially crafted test script to send requests and intentionally trigger a block screen.
When ModSecurity detects a suspicious or malformed request, the server responds with a block page and denies access.
Step 1: Review Apache Error Logs
When a request is blocked, the reason is logged in:
/home/kusanagi/(profile_name)/log/httpd/error.log
If the request was made via HTTPS, check:
ssl_error.log
These logs often contain a large volume of information. Start by checking the timestamp near the beginning of the line, such as:
[Fri Jul 21 08:36:23.102987 2023]
This tells you exactly when the event occurred (in this case, July 21, 2023 at 08:36:23 AM).
Then, look for lines that mention rule IDs like:
[id "920220"], [id "920270"], [id "949110"], [id "980130"]
These indicate which ModSecurity rules were triggered.
Example Error Log
Here’s a sample log entry (with some parts masked):
[Fri Jul 21 08:36:23.103004 2023] [security2:error] [pid *****:tid ***************] [client 192.0.2.1:*****] [client 192.0.2.1] ModSecurity: Access denied with code 403 (phase 2). Operator GE matched 5 at TX:anomaly_score. [file "/etc/opt/kusanagi/httpd/modsecurity.d/activated_rules/REQUEST-949-BLOCKING-EVALUATION.conf"] [line "153"] [id "949110"] [msg "Inbound Anomaly Score Exceeded (Total Score: 10)"] [severity "CRITICAL"] [ver "OWASP_CRS/3.3.4"] [tag "application-multi"] [tag "language-multi"] [tag "platform-multi"] [tag "attack-generic"] [hostname "example.com.internal"] [uri "/"] [unique_id "***************************"] This warning means the request included a null character (invalid input) in the query string.
Such errors are typically triggered by malformed or suspicious inputs. While these may not cause issues with thread-safe software, non-thread-safe software could be vulnerable. Use caution when deciding to whitelist such requests.
Step 2: Creating an Exception (Whitelist)
In this case, the requests were intentionally crafted and confirmed to be safe, so we’ll create a whitelist rule.
You may also need the request path, query string, or referrer. These appear toward the end of the log line as:
- uri “/path”
- data “…” (contains the matched string)
Now identify which rule IDs to exclude. Ideally, only exclude the minimal necessary rules to avoid weakening your WAF protection.
For example, let’s say we determined that these two IDs can be safely ignored:
- 949110: Inbound anomaly score exceeded
- 980130: (not shown in full here, but assumed safe based on context)
Here’s a sample log for 949110:
[Fri Jul 21 08:36:23.103004 2023] [security2:error] ... [id "949110"] [msg "Inbound Anomaly Score Exceeded (Total Score: 10)"] ... Step 3: Add a Conditional Exception Rule
Two more rule IDs remain (e.g., 920220, 920270). We’ll add a conditional rule that disables them only when the query string or referrer matches a specific pattern, like test_query_string.
Append the following block to:
/etc/opt/kusanagi/httpd/modsecurity.d/kusanagi_activated_rules/wordpress/user.conf
apache
 <If "%{QUERY_STRING} =~ /.*test_query_string=.*/ || %{HTTP_REFERER} =~ /.*test_query_string=.*/">

    SecRuleRemoveById 920220

    SecRuleRemoveById 920270

</If>
This rule tells ModSecurity to remove the specified rules only under tightly defined conditions, reducing the risk of over-whitelisting.
Step 4: Restart and Verify
After saving the file, restart Apache using:
kusanagi httpd
Then verify that the site loads correctly and the design remains intact.
By repeating this process and reviewing each blocked request, you can fine-tune your WAF configuration for both security and usability.
5. Disabling WAF as a last resort
If you’ve investigated the error using the above methods and still cannot resolve the issue—and only if absolutely necessary—you may disable the WAF entirely using the following command:
kusanagi waf off 6. Conclusion
By leveraging the built-in WAF in KUSANAGI, you can operate a more secure website with minimal effort.
While false positives can occur, they are generally easy to investigate and correct once you get the hang of it.
We recommend evaluating the trade-off between security and convenience, and considering WAF as a practical solution to harden your web application.
References
https://code.google.com/archive/p/naxsi/wikis/BasicRule.wiki